There’s definitely something really appealing about a smooth & creamy dip, and for me hummus is the king. It’s extremely versatile & can be transformed with just the addition of a single ingredient, such as roasted red pepper, caremalised onion or even just a sprinkling of smoked paprika. Up until quite recently I thought it would be a food of the past for me as it contains chickpeas (garbanzo beans), which are a lectin containing legume. It’s a pity on two counts, 1) I love the taste of it; and 2) Pretty much everything else that goes into making hummus is fine.
Well, I recently discovered that fermenting hummus not only creates healthy probiotics and enzymes that help the gut to digest food but it also dramatically reduces the lectin content within the chickpeas – thus making it much more Paleo-friendly in my eyes. So, after my recent success in making fermented kimchi I thought I’d try my hand at fermented hummus. I’ve made non-fermented hummus so many times now that I don’t really follow a recipe any more, but I have reproduced the recipe that I use as my template below. I believe it is one of Jamie Oliver’s but I can’t find a link to it on the web now – I personally prefer a little more lemon juice & chili in mine but adjust as per your own preference.
340g / 12oz chickpeas (soaked overnight)
1 small, dried red chili
½ teaspoon cumin seeds (or ground cumin)
salt & freshly ground black pepper
1 clove of garlic
1 ½ tablespoons tahini (sesame paste)
4 tablespoons extra virgin olive oil (it’s important to use the good stuff)
lemon juice to taste (approx two tablespoons)
Soak the chickpeas overnight (approx 8 hours) & then rinse thoroughly. Cover with fresh water and cook for 1 ½ hours or until soft, skimming any froth as necessary. Drain but keep some of the liquid for thinning out the hummus later.
In a pestle and mortar pound the chili and cumin seeds with a little salt. In a food processor add the chickpeas, garlic, tahini & pounded spices and pulse until all is combined & the consistency is like breadcrumbs. Add to this mixture the olive oil, lemon juice, salt & pepper and a little of the liquid that was reserved from the chickpeas. Pulse this until it is smooth, adding more cooking liquid as required.
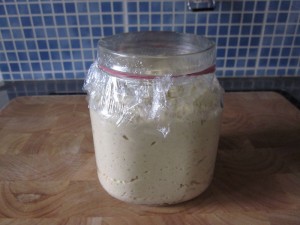
Now for the fermentation! Spoon the hummus into a clean kilner-type jar, ensuring to leave a couple of inches gap for expansion as the fermentation takes place. Cover tightly with a double layer of cling film and secure with an elastic band. Alternatively, if you have an air-lock lid, as used in home brewing, use that as it will allow the fermentation gases to escape whilst retaining an air tight seal.
Leave the jar at room temperature and wait for the the hummus to expand in the jar and become aerated, this could take 3 to 5 days depending on the ambient temperature. This is the result of the lactobacilli doing it’s job! Once this happens taste a small amount of the hummus; you should be looking for the familiar tingle or zing you get from fermented food on your tongue, not dissimilar to the tingle from the kids sweet ‘space dust’ but much more subtle. Also the hummus should not in any way taste rancid or off, if it does throw away and give it another go. If all is well secure the jar with an air-tight lid and refrigerate until required.
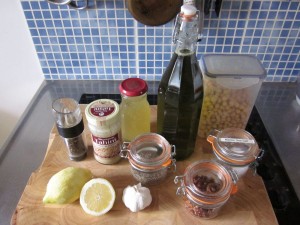
The ingredients:
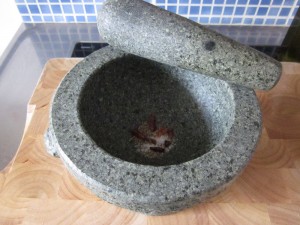
The dried spices, ready to be pounded!
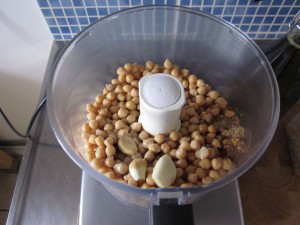
The filled food processor.
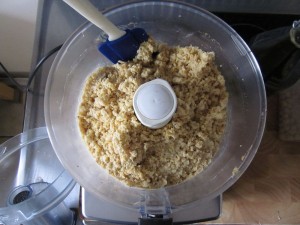
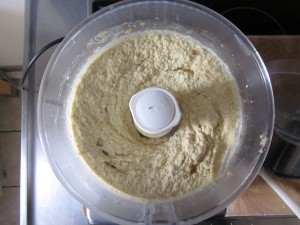
After initial pulsing without the wet ingredients the mixture is like breadcrumbs.
After the olive oil, lemon juice & cooking water are added the mixture thins out.
Finally the hummus is ready to ferment in the jar!


Hey Jase, that looks great, getting those probiotics from food always feels about hundred times better than popping a pill! Will give it a go and report back. Cheers! Marcus